
What to prepare before publishing
Prepare photos, core property information, fee conditions, and information confirming your authority to list. You may save the property as a private draft before identity approval. Publishing requires approved identity and contact details; registry documents are not required simply to save the property information.
Required
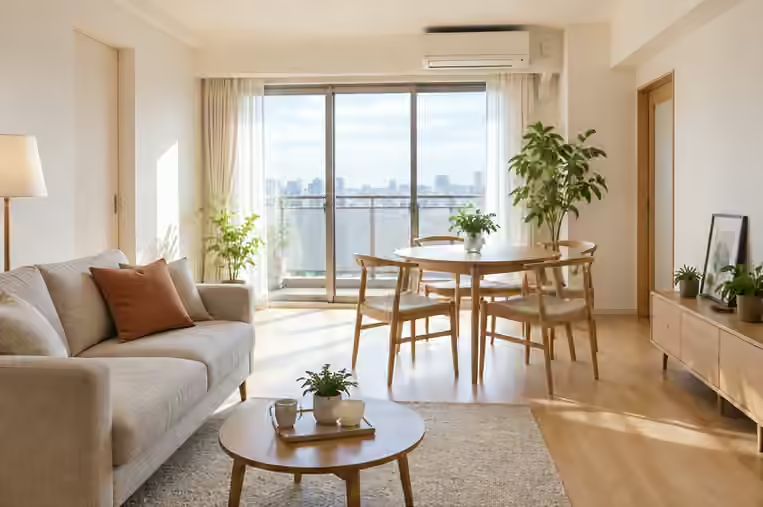
- Photos: Provide exterior, interior, and water-area photos
- Property details: Address, floor plan, floor area, and building age
- Fee details: Rent, deposit, and other mandatory fees
- Listing authority: Confirm whether you are the owner, an agent, or a property manager
Recommended
- Identity check and listing description: Complete identity verification before publishing, and clearly describe the property’s strengths.
Listing start steps
4 steps to go live
Prepare the details, review, then publish
All four steps stay visible so you can follow them in order. While identity verification is under review, prepare your property details and photos.
- 01
Prepare
Submit identity verification
Complete your account details and submit identity verification. While it is being reviewed, gather the information and photos needed next.
- Submitting registry documents is not a condition for listing
- Identity verification must be approved before publication
Submitting early helps you publish smoothly once the listing is ready.
- 02
Create
Add property details and photos
Enter the address, layout, rent, and amenities, then add photos that help residents understand the home.
- Up to 20 images, with a 10MB limit per image
- Minimum size: 1024×683px; landscape images at least 1200px wide are recommended
- Select one TOP image and one exterior / entrance image
- 03
Review
Check the listing and publish
Review the address, fees, amenities, description, and image order. You can proceed to publication once identity verification is approved.
- Check all information as residents will see it
- Confirm image orientation and the TOP image crop
- 04
Respond
Coordinate viewings after a request
After a viewing request arrives, coordinate the method and date with the applicant. Move to the contract flow after a rental application.
- The viewing method is arranged after the request, not at listing time
- Keep the confirmed date and instructions in messages